A cracked smartphone screen is frustrating, but replacing it yourself can save you time and money. Whether you have an iPhone, Samsung Galaxy, or Google Pixel, this step-by-step guide will help you repair a broken phone screen at home safely and effectively.
Table of Contents
ToggleCan You Fix a Broken Phone Screen Yourself?
A cracked smartphone screen is frustrating, but replacing it yourself can save you time and money. Whether you have an iPhone, Samsung Galaxy, or Google Pixel, this step-by-step guide will help you repair a broken phone screen at home safely and effectively.
Can You Fix a Broken Phone Screen Yourself?
Yes! With the right tools, patience, and careful handling, you can replace a cracked or non-responsive screen without professional help. However, some risks are involved, including:
Voiding your warranty
Potential damage if done incorrectly
Touch sensitivity or display issues if not installed properly
If you’re comfortable with DIY repairs, follow this guide to fix your smartphone screen at home.
Tools You’ll Need for Screen Repair
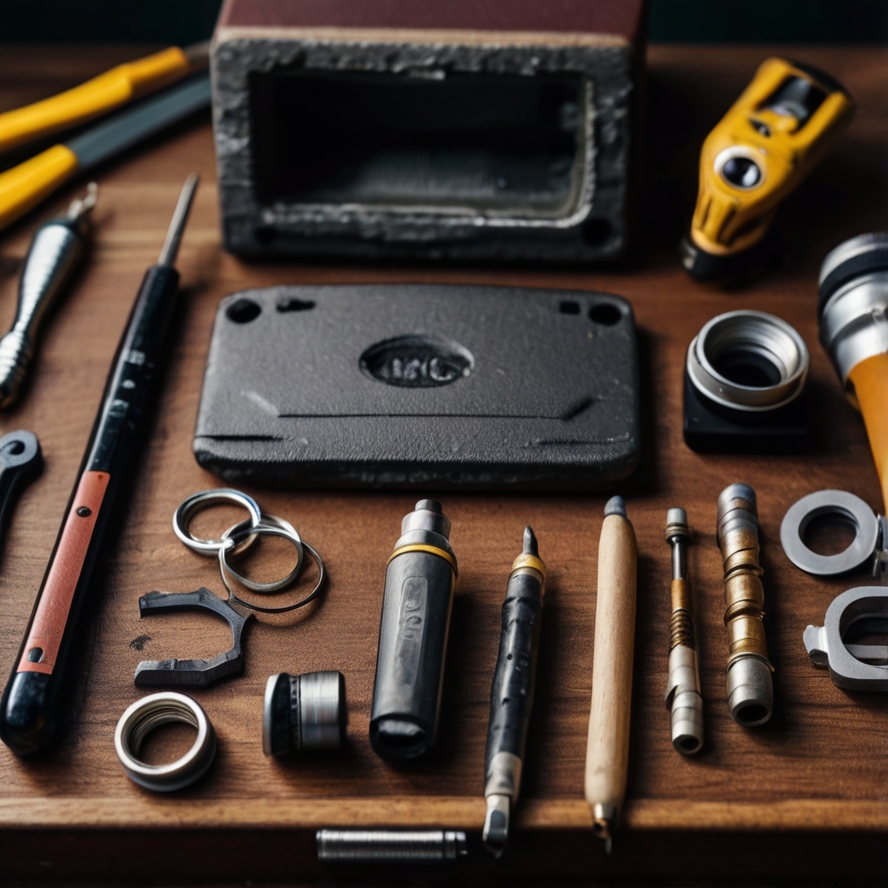
Before starting, gather these essential tools:
✔ Replacement screen (OEM or high-quality third-party)
✔ Precision screwdriver set (Phillips & Pentalobe)
✔ Plastic pry tools & spudger (to avoid scratches)
✔ Suction cup (for lifting the screen)
✔ Heat gun or hairdryer (to loosen adhesive)
✔ Tweezers (for small connectors)
✔ Isopropyl alcohol & microfiber cloth (for cleaning)
✔ Adhesive strips or glue (for resealing)
⚠ Pro Tip: Buy a screen repair kit (available for iPhones, Samsung, etc.)—it includes most tools needed.

Step-by-Step: How to Replace a Broken Phone Screen
Step 1: Back Up Your Data
Before disassembling your phone:
Backup photos, contacts, and files to iCloud, Google Drive, or a computer.
Power off the device completely.
Step 2: Remove the Broken Screen
For iPhones (e.g., iPhone 12/13/14):
Heat the edges with a hairdryer (2-3 minutes) to soften adhesive.
Use a suction cup to lift the screen slightly.
Insert a plastic pry tool and gently separate the display from the frame.
Unscrew the display connectors carefully and remove the broken screen.
For Samsung Galaxy (e.g., S21/S22/S23):
Remove the back panel (heat + pry tool).
Disconnect the battery first (safety precaution).
Unscrew and disconnect the display flex cable.
Step 3: Install the New Screen
Test the new screen before securing it (connect and power on briefly).
Remove protective films and align the new display properly.
Reconnect all flex cables and screws.
Apply new adhesive strips around the edges.
Step 4: Reassemble & Test
Press the screen firmly to ensure proper adhesion.
Reattach the back panel (for Samsung) or seal the edges (for iPhones).
Power on the device and check touch sensitivity, colors, and brightness.
Common Mistakes to Avoid
❌ Skipping the backup – Data loss can happen.
❌ Using metal tools – Can scratch or short-circuit components.
❌ Forcing connectors – Damages fragile flex cables.
❌ Not testing before final assembly – Ensures the new screen works.
When to Seek Professional Help
If:
Your phone has water damage or deep internal issues.
The touchscreen doesn’t respond after replacement.
You’re uncomfortable handling small components.
Consider repair shops like uBreakiFix or Apple Authorized Service Providers.
Final Thoughts
Repairing a broken smartphone screen at home is possible with patience and the right tools. Follow this guide carefully, and you can save 100−100−300 compared to professional repairs.
Have you tried fixing your phone screen? Share your experience in the comments!
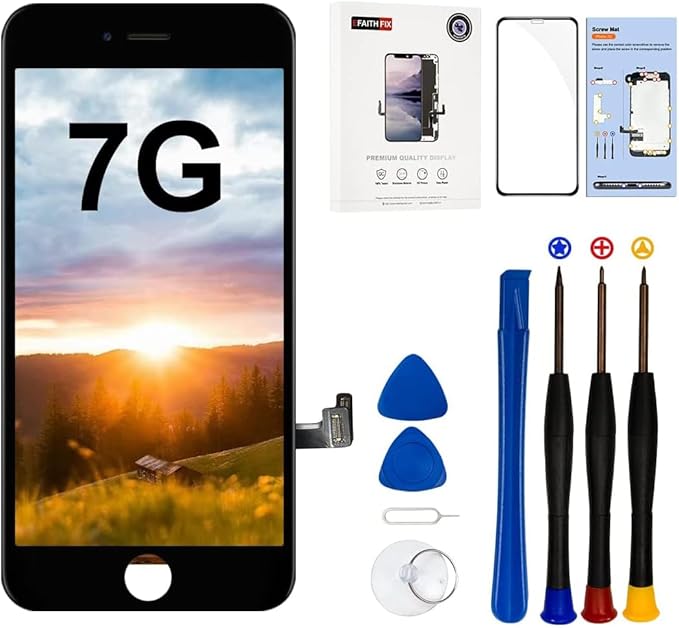
EFAITH for iPhone 7 Screen Replacement 4.7 inch LCD Display 3D Touch Screen Digitizer
About this item
- ✅【Compatibility】 ìPhone 7 replacement screen will only fit iPhone 7(4.7 Inch). Compatible models are A1660, A1778, A1779. You can find the model on the back side of your iPhone. Please confirm your Iphone model before ordering. Not suitable for any other model
- ✅【Easy To Install】: Please make sure to follow the installation video strictly for testing screen before proceeding with the installation steps. iPhone 7 lcd screen replacement is used to replace broken, fractured, dead, damaged, touch response problems, color error problems, non-functional screens, and can be used normally as the original screen after installation
- For more info click here


